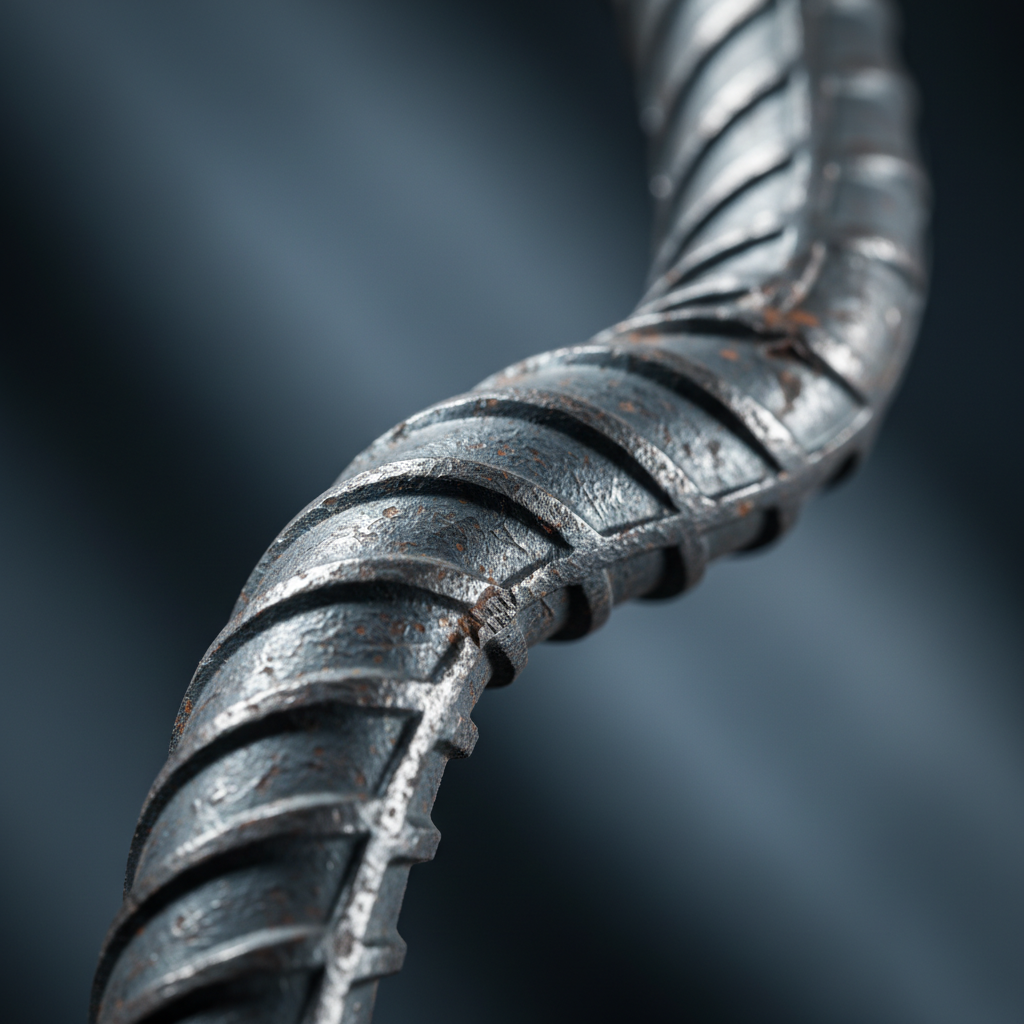
10M rebar is a Canadian metric reinforcing bar with a nominal diameter of about 11.3 mm (≈0.45 in) and a nominal area near 100 mm². It’s widely used in slabs, walls, and footings. For contractors near 370 New Enterprise Way in Woodbridge, ON, Dass Rebar supplies, fabricates, and delivers 10M rebar so you order the right size the first time.
By Navjot Dass • Dass Rebar
Last updated: 2026-04-24
Above-Fold Hook and TOC
Use 10M rebar for slabs-on-grade, walls, footings, and ties where moderate tensile capacity and fast handling matter. This complete Ontario-focused guide shows sizing, grades, coatings, spacing, and delivery coordination—so you avoid ordering mistakes, reduce site congestion, and keep pours on schedule.
Here’s what you’ll get from this complete guide to 10M rebar:
- Clear definition, dimensions, and where 10M rebar fits best
- Why 10M balances strength, availability, and constructability
- How 10M transfers load in concrete and what keeps bars in place
- Grades, epoxy options, welded wire mesh, and GFRP alternatives
- Ordering, fabrication, delivery, and on-site assembly best practices
- Quick comparison of 10M vs 15M vs 20M to prevent congestion
- Ontario-specific examples and a field checklist you can use today
Quick Summary
10M rebar (≈11.3 mm diameter; ≈0.527 lb/ft) is the workhorse for slabs, walls, and ties across Ontario. Select Grade 400W or 500W per drawings; use epoxy-coated bars for chloride exposure. Verify spacing, cover, laps, and bends on stamped shop drawings before ordering and coordinate deliveries with pour breaks.
- What is 10M rebar?
- Why 10M rebar matters
- How 10M works in concrete
- Types, grades, and approaches
- Best practices
- Tools and resources
- Case studies and examples
- FAQ
- Conclusion
Local considerations for 370 New Enterprise Way
- Plan for freeze–thaw: maintain cover and consider epoxy-coated bars in splash or deicing zones across Woodbridge and the broader Ontario region.
- Time deliveries before rush periods so crews can place and tie 10M rebar the same day—reducing laydown congestion.
- Lock shop drawings early with in-house detailing to avoid last-minute field changes on GTA-paced projects.
What Is 10M Rebar?
10M rebar is a Canadian metric deformed steel bar (≈11.3 mm diameter; ≈100 mm² area) used in slabs, walls, and footings. Ontario projects commonly specify 10M in Grades 400W or 500W, with epoxy-coated options where chloride exposure or deicing splash threaten durability.
At Dass Rebar, we see 10M rebar serve as the default choice for many slab-on-grade mats, stem walls, and light ties because it’s easy to handle, place, and tie. It’s roughly comparable in diameter to a US #4, though properties and standards differ, so always follow your stamped drawings.
Key physical cues help with planning and logistics: 10M has a nominal area near 100 mm² and weighs about 0.785 kg/m (≈0.527 lb/ft). Those numbers help crews estimate bundle weights, crane picks, and safe staging distances—especially on tight urban sites.
Contractors across Ontario also pair 10M rebar with welded wire mesh for temperature-shrinkage duties in slabs where design permits. For higher loads, engineers often step to 15M or 20M to avoid congestion while holding required cover for consolidation and durability.
Need a fast turn on 10M bar stock? Our team maintains common sizes and supports you end-to-end—from estimating and detailing to rebar supply in Ontario, fabrication, coordinated delivery, and on-site assembly.
Why 10M Rebar Matters
10M rebar balances strength, weight, and availability. It speeds handling, fits common chairs/ties, and is stocked province-wide—reducing delays. Specifying 10M correctly prevents overdesign, bar congestion, and ordering errors that slow pours and increase rework.
Here’s the thing: field efficiency lives or dies on constructability. 10M’s nominal area and manageable mass let crews maintain spacing and cover while vibrating and finishing concrete. When spans, loads, or crack-control demands increase, moving to 15M or 20M keeps spacing practical and concrete flowing.
- Constructability: 10M is easier to carry, tie, and support—ideal for repetitive slab grids and wall horizontals.
- Availability: We stock 10M alongside welded wire mesh (6×6 at 6/6, 9/9, and 10/10) for quick turnarounds.
- Durability options: Epoxy-coated 10M helps where chlorides and freeze–thaw cycles are a concern.
- Coordination: In-house detailing reduces clashes and late changes, accelerating approvals.
For infrastructure-grade expectations, our MTO-approved status aligns with Ontario compliance needs. See how we support public and private builds in our overview on why Ontario builders trust Dass Rebar.
How 10M Rebar Works in Concrete
10M rebar transfers tension to concrete through ribs that develop bond. Proper cover, spacing, and lap lengths let bars anchor and control cracks. Chairs and ties keep 10M at design elevation during placement, vibration, and finishing—so strength shows up where you need it.
Concrete excels in compression; reinforcement handles tension and bending. That simple division of labor shapes how you detail and place 10M. Cover protects steel from moisture and chlorides. Spacing and lap lengths ensure load transfer. Chairs, ties, and bar supports maintain bar position as crews vibrate and screed.
- Cover: Maintain specified edge distances to protect steel, especially in splash or deicing zones.
- Spacing: Keep concrete pathways open for proper consolidation and finish quality.
- Laps and development: Follow stamped drawings; resist on-site guesswork under schedule pressure.
- Anchorage at corners/openings: Add confinement or hooks per design to prevent stress concentrations.
For a deeper look at reinforcement principles, review these fundamentals on how rebar strengthens concrete and align them with your shop drawings before fabrication starts.
Types/Methods/Approaches for 10M
Choose 10M rebar in Grade 400W or 500W per drawings. Consider epoxy-coated bars for chloride exposure. Coordinate cuts and bends via shop drawings, and use welded wire mesh or GFRP where designs call for alternative reinforcement strategies.
Common 10M selections
- Grade 500W: Higher yield strength (500 MPa) for structural demands on commercial builds.
- Grade 400W: Standard yield strength (400 MPa) for many residential/light commercial elements.
- Epoxy-coated 10M: Added corrosion resistance in splash, deicing, or parking deck exposure.
- GFRP alternative: Non-corrosive reinforcement when specified by the engineer of record.
- Welded wire mesh: 6×6 at 6/6, 9/9, or 10/10 gauges for slab distribution where permitted.
Fabrication and detailing factors
- Cutting and bending: Provide bend shapes and bar marks; verify inside bend diameters per drawings.
- Shop drawings: Confirm bar lists, laps, hooks, and splice locations; reduce site changes.
- Delivery windows: Align drops with pour schedules and access limits; avoid stacking conflicts.
- On-site assembly: Use proper chairs/ties; hold cover during vibration and finishing.
Comparison: 10M vs 15M vs 20M
| Metric Size | Nominal Diameter | Nominal Area | Approx. Mass | Typical Use |
|---|---|---|---|---|
| 10M | ≈11.3 mm (0.45 in) | 100 mm² (0.155 in²) | 0.785 kg/m (0.527 lb/ft) | Slabs, walls, light ties |
| 15M | ≈16.0 mm (0.63 in) | 200 mm² (0.310 in²) | 1.570 kg/m (1.055 lb/ft) | Thicker slabs, beams, columns |
| 20M | ≈19.5 mm (0.77 in) | 300 mm² (0.465 in²) | 2.355 kg/m (1.580 lb/ft) | Heavier beams, columns, footings |
Use the table to balance strength needs and constructability. If 10M spacing becomes too tight to meet required steel area, step to 15M or 20M to maintain cover and allow proper consolidation. For broad temperature/shrinkage control, welded wire mesh or GFRP may be specified.
For structural framing context that often ties into reinforcement planning, see this primer on structural steel framing systems and this overview of steel frame bracing.
Best Practices for Ordering and Using 10M
Confirm grade, coating, lengths, bends, and laps on stamped drawings before ordering 10M rebar. Coordinate delivery with pour dates, protect bars from contamination, and maintain cover during placement. Stage bundles for safe handling and document inspections as required.
Before you order
- Verify grade (400W vs 500W) and coating (epoxy/plain) on drawings.
- Check bar list: lengths, quantities, hooks, laps, and any mechanical splices.
- Confirm delivery sequence for pour breaks and site access limitations.
- Align with inspection requirements and documentation expectations.
On site
- Use chairs/ties that hold cover during vibration and screeding.
- Keep clearances at edges, openings, and around penetrations.
- Protect epoxy coatings from gouges; repair nicks per guidance.
- Stage bundles for efficient placement and safe handling.
Quick pre-pour checks—bar marks, spacing, cover, laps—prevent rework. When drawings change late, update the bar list and coordinate with fabrication to keep the schedule intact. For seasonal logistics, see our insights on stocking up ahead of summer.

Mid-project coordination (CTA)
Short-handed or working across multiple GTA jobs? Our estimating, detailing, fabrication, timely delivery, and on-site assembly keep pours on track. Ask for a coordinated drop plan that matches your pour schedule.
Tools and Resources
Use shop drawings, size/weight charts, and a simple field checklist to streamline 10M rebar work. Quick math for 10M mass (≈0.527 lb/ft) helps plan lifts. For corrosion exposure, consider epoxy-coated bars; for slab distribution, review welded wire mesh options.
- Field checklist: grade, coating, spacing, cover, laps, chairs/ties, inspection.
- Weight quick math: multiply ≈0.527 lb/ft by total feet per bundle to plan picks.
- Development/lap: follow stamped drawings; avoid on-site guesswork.
- Corrosion exposure: consider epoxy-coated 10M near ramps or deicing splash zones.
- Slab reinforcement: where permitted, evaluate welded wire mesh types for temperature-shrinkage roles.
- Epoxy insights: plan around handling/repair practices; review our epoxy-coated rebar guide.
Case Studies and Ontario Examples
Ontario projects frequently standardize on 10M rebar for slabs, walls, and ties, stepping to 15M or 20M as loads climb. Early estimating and detailing paired with staged deliveries prevent congestion and keep pours on time across busy GTA sites.
Residential mid-rise: A parkade slab used a 10M grid for temperature/shrinkage with 15M at column and wall zones. Coordinated bar lists aligned deliveries with pour breaks, minimizing laydown conflicts and crane picks.
Commercial perimeter walls: 10M horizontals with 15M verticals balanced crack control and constructability. Epoxy-coated 10M near entrances improved durability against deicing splash without changing placement practice.
Infrastructure-adjacent work: In chloride-exposed areas, epoxy-coated 10M supported durability goals while maintaining standard chairs, ties, and cover. Inspection hold points were scheduled to avoid traffic peaks around key corridors.
Curious how reinforcement ties into broader framing sequences? See a concise refresher on steel frame bracing approaches and keep coordination tight with structural teams.
Frequently Asked Questions
What size is 10M rebar?
10M has a nominal diameter near 11.3 mm (about 0.45 inches), a nominal area around 100 mm², and a mass close to 0.785 kg/m (about 0.527 lb/ft). It’s a versatile, easy-handling size for slabs, walls, and ties.
When should I choose epoxy-coated 10M?
Select epoxy-coated bars when reinforcement may see chlorides or deicing splash, such as near entrances, ramps, or parking areas. Coated bars add corrosion resistance without changing placement methods, but protect coatings during handling and repair nicks per guidance.
Is 10M the same as a US #4 bar?
They’re similar in diameter, but specifications differ. 10M follows Canadian metric sizing and related standards, while #4 follows US imperial conventions. Always match the size and grade shown on your stamped drawings.
How do I avoid ordering the wrong size?
Confirm size, grade, and coating on stamped drawings; review the bar list for lengths, bends, and laps; and align deliveries with pour dates. If spacing becomes congested, consider upsizing to 15M or 20M per the engineer’s direction.
Conclusion
10M rebar is the Ontario workhorse for slabs, walls, and ties. By locking grade, coating, spacing, cover, and laps—and coordinating fabrication and delivery—you’ll avoid ordering errors and keep pours on schedule.
Key Takeaways
- 10M (≈11.3 mm) offers practical handling and layout for slabs, walls, and ties.
- Pick Grade 500W or 400W per drawings; consider epoxy-coated bars for chlorides.
- Use 15M/20M when 10M spacing gets congested; maintain cover for consolidation.
- Coordinate shop drawings, fabrication, and deliveries to match pour windows.
- Leverage in-house estimating and detailing to reduce RFIs and rework.
Ready to translate drawings into a clean, on-time site plan? Our estimating, detailing, fabrication, delivery, and on-site assembly streamline every step—so your crew can place concrete with confidence.
Related Topics and Next Steps
Planning a slab or wall package? Align 10M rebar with welded wire mesh options, epoxy-coated selections, and delivery staging. A coordinated approach reduces congestion and supports quality finishing across Ontario jobs.
- 10M, 15M, and 20M sizing strategies for slabs, walls, and footings
- Welded wire mesh roles in temperature-shrinkage control
- Epoxy-coated reinforcement in splash and deicing zones
- Coordinated drops, laydown, and inspection hold points
- In-house estimating and detailing for fewer site changes