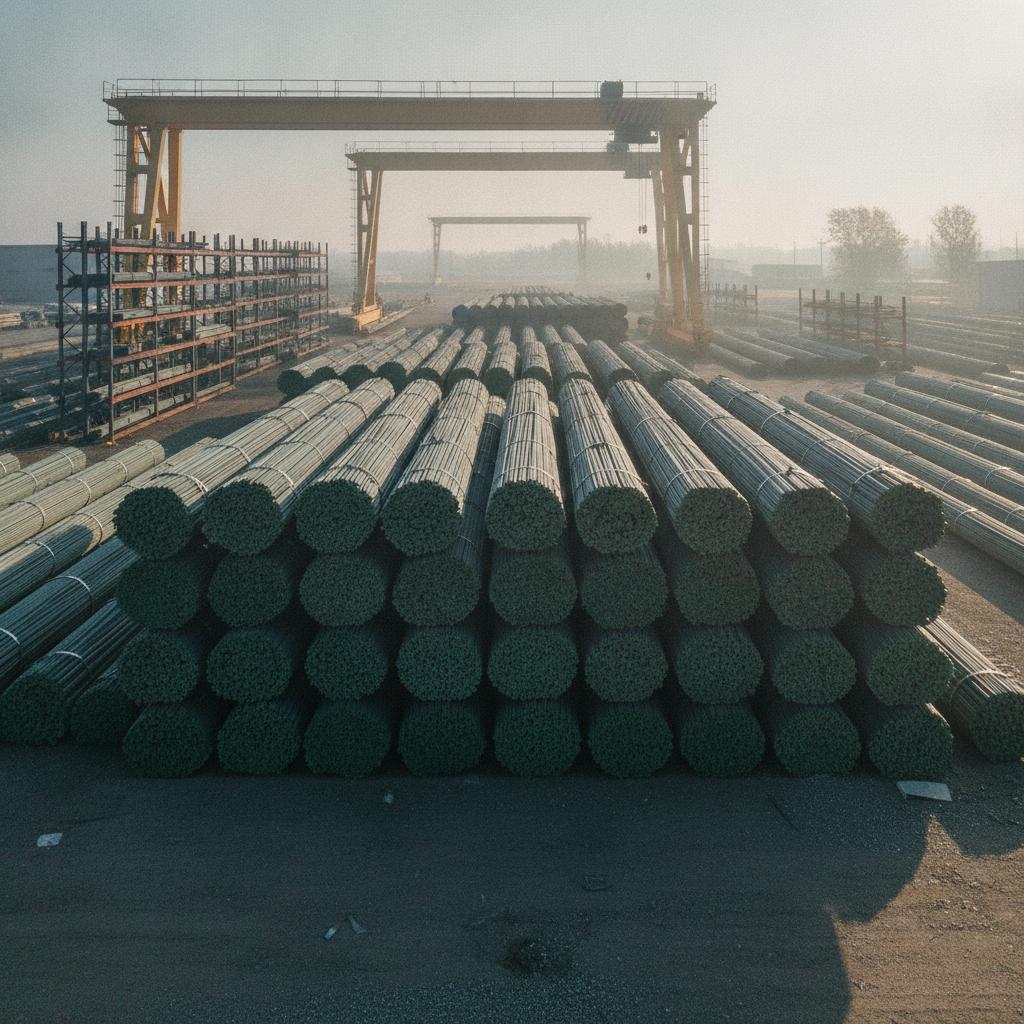
Epoxy coated rebar price refers to the total investment required to specify, fabricate, deliver, and handle epoxy-coated reinforcing steel for a project in Woodbridge. The number is driven by steel grade, bar size, coating quality, bends, waste, logistics, and schedule. You reduce overspend by aligning specs early and coordinating detailing, fabrication, and delivery.
By Navjot Dass — Dass Rebar · Last updated: 2026-07-04
Above-Fold: Hook + Table of Contents
Avoid overpaying for epoxy coated rebar by matching specification to exposure, optimizing bar schedules, and coordinating delivery windows. The fastest savings come from accurate takeoffs, bend radii that meet code without over-detailing, minimized waste, and a logistics plan that keeps crews placing steel without idle time.
Here’s the thing: most projects don’t blow budgets on steel weight alone—they lose time and money on coordination gaps. This complete guide shows you how to control drivers that shape epoxy coated rebar pricing without sacrificing durability or compliance.
- What epoxy coated rebar is and when to use it
- Real-world value drivers that shape quotes
- How detailing, fabrication, delivery, and assembly affect outcomes
- Best practices for handling, repair, and inspection
- Comparison with galvanized, stainless, and GFRB options
- Step-by-step to request a precise quote from Dass Rebar
Summary
Epoxy coated rebar is carbon steel reinforcing bar with a factory-applied fusion-bonded epoxy that resists chloride-driven corrosion. Choose it for deicing-salt or marine exposure, optimize bends and bar lengths to limit scrap, and coordinate delivery through Dass Rebar’s in-house team to control timeline risk and total installed value.
In our experience supporting Ontario projects for 40+ years, the biggest wins come from clarifying exposure categories early, locking bar sizes (10M, 15M, 20M where specified), and synchronizing shop drawings with pour sequences. That coordination supports schedules on residential, commercial, and infrastructure jobs alike.
What Is Epoxy Coated Rebar?
Epoxy coated rebar is standard carbon steel reinforcement coated with a fused epoxy layer to slow corrosion. The coating isolates steel from chlorides and moisture. It’s commonly specified for bridge decks, parking structures, and podium slabs exposed to deicing salts or marine spray in Ontario climates.
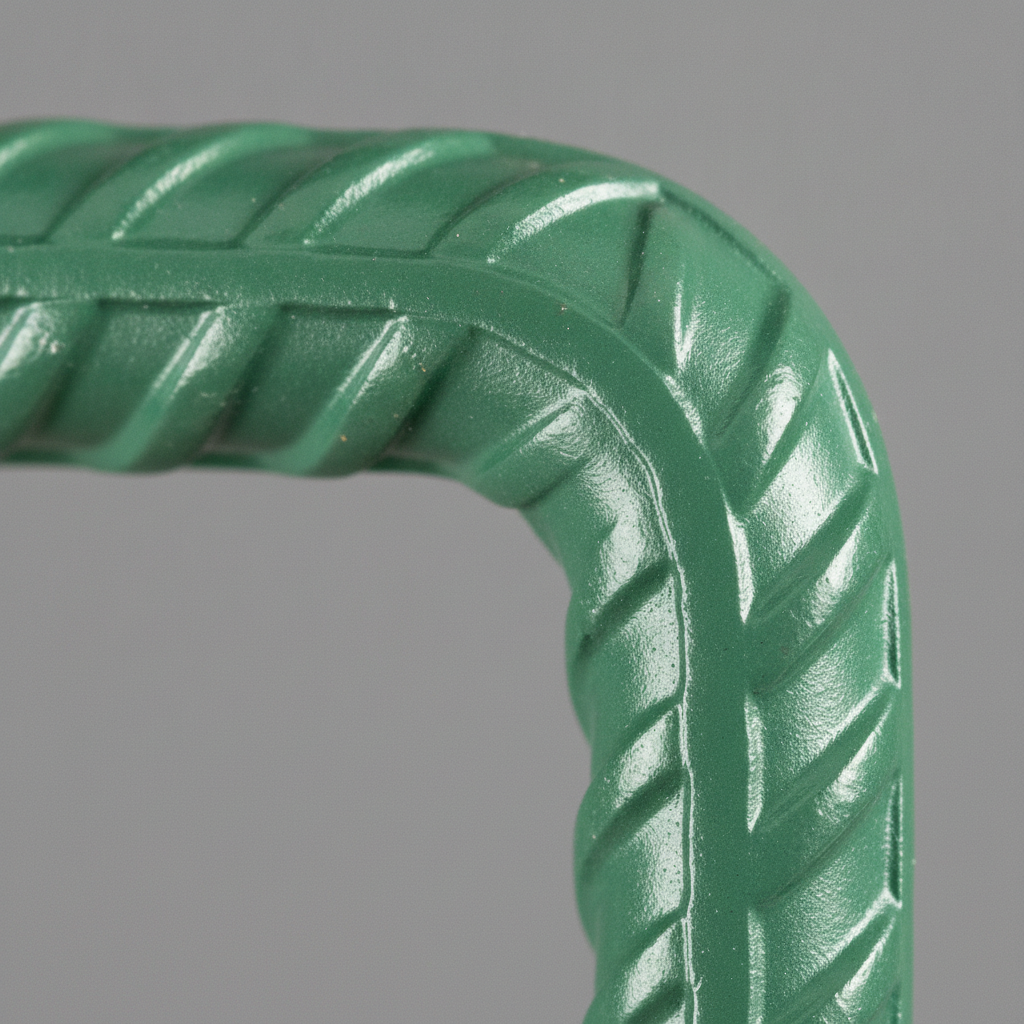
Functionally, it’s still rebar—cut, bent, placed, and tied like bare bar—but the epoxy adds a protective barrier. Typical Canadian bar sizes include 10M (about 11.3 mm nominal diameter), 15M (about 16 mm), and 20M (about 19.5 mm). Dass Rebar supplies Grade 500W and 400W options with epoxy-coated variants to match structural design demands and site exposure.
For a deeper primer on reinforcement fundamentals, see our accessible overview in the rebar reinforcing steel guide. If your scope includes a mix of epoxy-coated and bare steel, our steel bars for concrete guide can help align sizes and grades across elements.
Why Epoxy Coated Rebar Price Matters
Epoxy coated rebar pricing influences both upfront spend and long-term durability. Over-specifying increases material and handling complexity; under-specifying risks early corrosion and repairs. The best approach ties exposure class to coating, optimizes bar schedules, and times deliveries to avoid overtime or rework.
Corrosion is one of the most common drivers of premature concrete deterioration in chloride-exposed structures. The protective epoxy barrier helps delay corrosion initiation when properly applied and handled. On decks, parkades, and podium slabs, that delay can translate into fewer patch repairs and less disruption over the structure’s life.
In Woodbridge and across the GTA, winter deicing routines and splash zones around ramps and entrances are constant considerations. We routinely help general contractors choose epoxy-coated bars for high-risk zones, while keeping interior areas on standard Grade 500W or welded wire mesh where appropriate to balance performance and total installed value.
To compare reinforcement options broadly, our concrete rebar guide frames the tradeoffs among common bar types used on Ontario jobs. For tough exposure categories, our focused epoxy-coated bars guide dives deeper on typical use cases.
How Epoxy Coating Works (and What Impacts Value)
Fusion-bonded epoxy adheres to cleaned, heated steel, creating a continuous barrier. Value depends on coating integrity, bend geometry, transport, and field handling. Small holidays can be repaired on-site; impact damage must be minimized through padded slings, coated chairs, and non-marring tools.
Here’s how the process typically looks from plant to placement—and where value can leak if the workflow isn’t tight.
Coating and fabrication flow
- Surface prep: Blast-clean steel to promote adhesion and uniform coating.
- Epoxy application: Heat bar, apply powder, and cure to a uniform film.
- Cut/bend: Bend radii must respect code to limit micro-cracking in the coating.
- Inspection: Visual checks for continuity; mark repair zones for approved touch-up.
- Bundling: Use padded separators and tags to protect coating during transport.
Dass Rebar’s in-house detailing and fabrication teams coordinate these handoffs together. That single-provider model reduces miscommunication and helps align shop drawings with fabrication reality—especially on congested mats and complex cages where bending sequences can make or break placement efficiency.
Handling and repair practices
- On-site protection: Store on timber cribbing; avoid bare forks and dragging.
- Tie wire and chairs: Use compatible, non-marring accessories to prevent coating damage.
- Field repairs: Approved epoxy repair kits address small holidays before pour.
- QA records: Photograph repairs and log bar heat numbers for traceability.
We’ve found crews place faster when bundles arrive in pour-ready sequences with clear tags matching the bar list. That’s why our project management team stages dedicated trucking to hit windows and maintain the pour cadence you set at the start of the week.
Pricing: What Actually Drives Epoxy Coated Rebar Price
The main drivers are specification (grade, size, coating), fabrication complexity, waste rate, delivery distance and timing, and on-site handling requirements. Aligning exposure zones, simplifying bends, and sequencing deliveries reduce total installed cost without compromising durability or compliance.
Specification and exposure
- Exposure mapping: Use epoxy where chlorides are expected (ramps, perimeters, splash zones), and standard bars or mesh in low-risk interiors.
- Grade alignment: Match 500W/400W to design strength; avoid mixing grades when it adds complexity.
- Bar sizes: Select 10M, 15M, 20M based on spacing and cover; fewer sizes simplify logistics.
Fabrication and detailing
- Bend geometry: Keep radii within code; avoid unnecessary tight hooks that slow placement.
- Cut lengths: Optimize to stock lengths to reduce offcut waste on repetitive elements.
- Congested zones: Use prefabricated cages where access or slab edge time is tight.
Delivery and site conditions
- Staging plan: Sequence bundles to pour breaks; avoid double-handling on tight sites.
- Access windows: Coordinate gate times; overnight deliveries can protect schedules.
- Weather: Winter handling needs extra protection to preserve coating integrity.
For a broader context on sourcing and coordination, our rebar supply guide explains how specification and logistics interact on active GTA builds.
How to Request an Accurate Quote (Step-by-Step)
Provide a clear scope, exposure notes, bar schedules, and critical dates. Ask for optimization suggestions on bar lengths, bends, and sequencing. You’ll get the most reliable epoxy coated rebar pricing when estimating, detailing, fabrication, delivery, and on-site assembly are coordinated by one provider.
- Share drawings and notes: Structural plans, exposure zones, and any owner standards.
- Identify critical pours: Dates and slab/element sequence for staging bundles.
- Confirm grades and sizes: 500W vs 400W; 10M/15M/20M and any 25M requests.
- Flag constraints: Craning windows, laydown limits, and off-hour access.
- Invite optimization: Allow our team to suggest cut-length and bend simplifications.
| Process Stage | What You Provide | What Dass Rebar Delivers | Value Gained |
|---|---|---|---|
| Estimating | IFC drawings, specs, exposure notes | Takeoff, exposure map suggestions | Right spec in right zones |
| Detailing | Design intent, constraints | Shop drawings, optimized bends | Less waste, faster placement |
| Fabrication | Approved shops | Cut/bent epoxy bars, cages | Quality, schedule certainty |
| Delivery | Pour dates, access plan | Staged bundles via trucking fleet | Minimal idle time |
| Assembly | Site contact, QC plan | On-site support, repair kits | Coating integrity preserved |
Want a deeper dive before you submit? Our team published an epoxy coated rebar guide that covers exposure classes, handling, and submittal tips tailored to Ontario projects.
Alternatives and When to Choose Them
Consider galvanized, stainless, or Glass Fibre Reinforcing Bars (GFRB) when exposure, life-cycle goals, or constructability make them a better fit. Epoxy-coated bars balance durability and constructability for many decks and parkades; alternatives serve niche needs like magnetic neutrality or extreme chloride resistance.
Galvanized steel
- Strengths: Durable zinc layer; good abrasion resistance.
- Consider: Compatibility with concrete chemistry and cuts/field treatment.
- Use when: You expect frequent handling abrasion or need robust outer protection.
Stainless reinforcement
- Strengths: Excellent chloride resistance; minimal maintenance.
- Consider: Fabrication lead times and tie-in with carbon steel.
- Use when: Long design lives and harsh marine zones justify premium performance.
GFRB (Glass Fibre Reinforcing Bars)
- Strengths: Non-corroding; electrically non-conductive and non-magnetic.
- Consider: Different bending/anchorage behavior than steel.
- Use when: MRI suites, transit facilities with signal sensitivity, or aggressive chemistry.
Dass Rebar stocks steel reinforcement and supplies GFRB on request. If you’re comparing across systems, our high-level steel reinforcement suppliers guide outlines selection factors that affect constructability in the GTA.
Best Practices to Protect Your Budget and Schedule
Lock the exposure map early, standardize on as few bar sizes as practical, and coordinate deliveries to match pour breaks. Use compatible chairs and tie wire, repair small holidays before pour, and photograph QA. These steps protect epoxy-coated bar value and help crews place faster.
Design and detailing
- Standardize sizes: Favor 10M and 15M where design allows; limit one-off sizes.
- Optimize hooks: Use code-compliant radii that also speed placement.
- Mesh vs bar: In low-risk slabs, welded wire mesh may accelerate placement.
Procurement and logistics
- Bundle by pour: Label clearly; match tags to the bar list and shop drawings.
- Sequence deliveries: Stage overnight where access allows to reduce crane conflict.
- Protect storage: Timber cribbing and covers protect coating and keep mats clean.
On-site practices
- Approved repair kits: Touch up small coating holidays immediately.
- Inspection checkpoints: Log damage rates and repair actions per pour.
- Training minutes: Brief crews on non-marring tools before first placement.
Our fabrication guide explains how bending sequences and lead times align with field realities in Ontario’s climate. If you’re new to specifying epoxy in mixed environments, the epoxy bars guide highlights lessons learned from recent GTA projects.
Woodbridge Logistics and Local Considerations
In Woodbridge, plan epoxy coated rebar deliveries around corridor traffic and site access windows. Sequencing overnight or early loads reduces crane conflicts. Coordinate laydown near access points and use padded slings to protect coating during tight maneuvers on urban infill sites.
Local considerations for Woodbridge
- Schedule early-morning drops near Queen St / Highway 50 to avoid congestion and keep crews placing steel at first light.
- Winter pours demand extra coating protection; stage repair kits and covered cribbing for loads arriving via Fogal Rd / Highway 50.
- For podium slabs and parkades, align our trucking fleet with your crane windows so bundles land pour-ready and minimize double-handling.
When working with clients in Woodbridge, we’ve found that confirming staging and crane swing paths a week ahead of key pours keeps epoxy damage rates low and reduces overtime risk.
Tools and Resources (Templates, Checklists, Standards)
Use standardized checklists for exposure mapping, shop drawing reviews, and delivery sequencing. Reference guidance from FHWA, CRSI, and ACI, and pair it with Dass Rebar’s in-house estimating and detailing for Ontario-specific practicality. Templates shorten reviews and reduce rework.
- Exposure map checklist: Identify ramps, splash zones, perimeter edges, and deicing run-off paths.
- Shop drawing review list: Verify bar marks, bends, lap lengths, chairs, and tags.
- Delivery plan: Tie bundles to pour breaks; set times to avoid road congestion.
- Handling protocol: Non-marring ties, padded slings, timber cribbing, repair kits ready.
Case Studies and Examples (Ontario Projects)
In Ontario, epoxy coated rebar often proves its value in ramps, podium slabs, and exposed perimeters. Coordinated detailing, pour-ready bundling, and on-site repair kits keep coating integrity high and placements smooth, reducing downtime and punch-list rework for GC teams.
Waterfront parkade ramp
- Challenge: Deicing salts and spray at a seafront-adjacent deck needed extra protection.
- Solution: Epoxy-coated 15M bars in mats; field repairs logged per lift.
- Result: Clean inspections with minimal holiday repair and on-time pours.
Mixed-use podium slab in the GTA
- Challenge: Tight crane windows; congested reinforcement at column strips.
- Solution: Prefabricated cages, epoxy-coated 10M/15M mats staged per pour break.
- Result: Faster placement and fewer coating touch-ups.
Municipal bridge approach
- Challenge: Repeated freeze–thaw cycles and salt splash zones at joints.
- Solution: Epoxy-coated top-mat bars and edge beams; non-marring accessories.
- Result: Strong durability posture with smooth turnover.

These scenarios mirror patterns we see across Woodbridge and the GTA: when exposure is well-mapped, detailing is optimized, and deliveries are timed, epoxy-coated reinforcement supports schedule and long-term performance.
How Epoxy Coating Compares to Other Systems
Epoxy-coated bars offer a practical balance of corrosion resistance, availability, and constructability. Stainless leads on durability, galvanized on abrasion, and GFRB on non-corrosion and non-magnetic behavior. Choose based on exposure, life-cycle targets, and constructability constraints.
| System | Chloride Resistance | Constructability | Magnetic/Electrical | Relative Availability |
|---|---|---|---|---|
| Epoxy-coated steel | High (barrier layer) | Familiar steel workflows | Magnetic/conductive | Widely available |
| Galvanized steel | High (zinc sacrificial) | Steel workflows | Magnetic/conductive | Available |
| Stainless steel | Very high (alloy) | Steel workflows | Magnetic varies | Less common |
| GFRB | Non-corroding | Different detailing | Non-magnetic | Project-specific |
If you’re weighing these options, our epoxy bars guide and steel bars guide outline when each system fits typical Ontario use cases.
Frequently Asked Questions
These quick answers address the most common epoxy coated rebar questions from Ontario contractors. For project-specific guidance, share drawings and exposure notes so we can align detailing, fabrication, and delivery to your schedule and durability targets.
What does epoxy coated rebar do in concrete?
It adds a protective barrier that slows chloride-driven corrosion. The bar behaves like standard steel during placement, but the coating helps extend service life in splash, spray, and deicing-salt zones common on decks, ramps, and exposed podium slabs in Ontario climates.
When should I choose epoxy-coated bars over bare steel?
Use epoxy-coated reinforcement wherever chlorides and moisture are expected—entrances, ramps, perimeters, and exposed edges. In low-risk interior slabs or walls, bare steel or welded wire mesh can be efficient. Map exposure early and align with your engineer’s design intent.
How do I prevent coating damage during handling?
Store on timber cribbing, avoid bare forks, and use non-marring tie wire and coated chairs. Repair small holidays with approved kits before concrete placement. Photograph and log repairs by pour to maintain QA traceability.
Can Dass Rebar help optimize bar schedules?
Yes. Our in-house estimating and detailing teams coordinate with fabrication and our trucking fleet. We propose cut-length and bend optimizations, sequence bundles for pour breaks, and support on-site assembly so crews place faster with fewer touch-ups.
Conclusion and Next Steps
Control epoxy coated rebar price by aligning exposure-driven specs with practical detailing and tight logistics. When one team estimates, details, fabricates, delivers, and supports placement, you protect coating integrity and keep schedules moving across Woodbridge and the GTA.
- Key takeaways:
- Map exposure zones early and specify epoxy where chlorides are likely.
- Standardize bar sizes and hooks to cut waste and speed placement.
- Sequence deliveries to pour breaks; stage repair kits and QA logs.
- Leverage Dass Rebar’s in-house teams for fewer handoff risks.
Get coordinated support: Share your drawings and dates for a practical epoxy-coated reinforcement plan built around your schedule.
Ready to align your scope? Book a discovery session with our team in Woodbridge and we’ll outline a pour-by-pour reinforcement plan that protects value and time.