Reinforcing bar is the steel or composite rod placed in concrete to carry tension and control cracking so structures stay strong and serviceable. Dass Rebar, based at 370 New Enterprise Way in Woodbridge, ON, supplies, fabricates, and delivers reinforcing bar across Ontario to keep projects compliant and on schedule.
By Navjot Dass • Last updated: May 17, 2026
Summary
Reinforcing bar (rebar) strengthens concrete by adding tensile capacity. This guide explains what rebar is, why it matters, how it works, material options (steel, epoxy-coated, GFRP), sizes like 10M/15M/20M, and best practices from estimating and detailing to fabrication, delivery, and on-site assembly—tailored for Ontario projects.
Use this complete, practical reference to plan, specify, and build with reinforcing bar in 2026. You’ll find quick definitions, standards, size charts, process checklists, tables, local considerations, and real examples from Ontario builds supported by Dass Rebar’s in-house teams.
- Clear definitions and standards (CSA G30.18, common grades)
- When to use epoxy-coated, GFRP, or welded wire mesh
- 10M, 15M, 20M sizes, diameters, and mass per meter
- Step-by-step: estimating → detailing → fabrication → delivery → assembly
- Constructability, corrosion protection, and QA/QC best practices
- Ontario-focused insights and case snapshots
What is reinforcing bar?
Reinforcing bar is a tension-carrying bar embedded in concrete to improve strength, limit cracking, and transfer loads safely. In North America, steel rebar is most common, specified by grade and size, with options like epoxy-coated steel and GFRP for enhanced durability in corrosive environments.
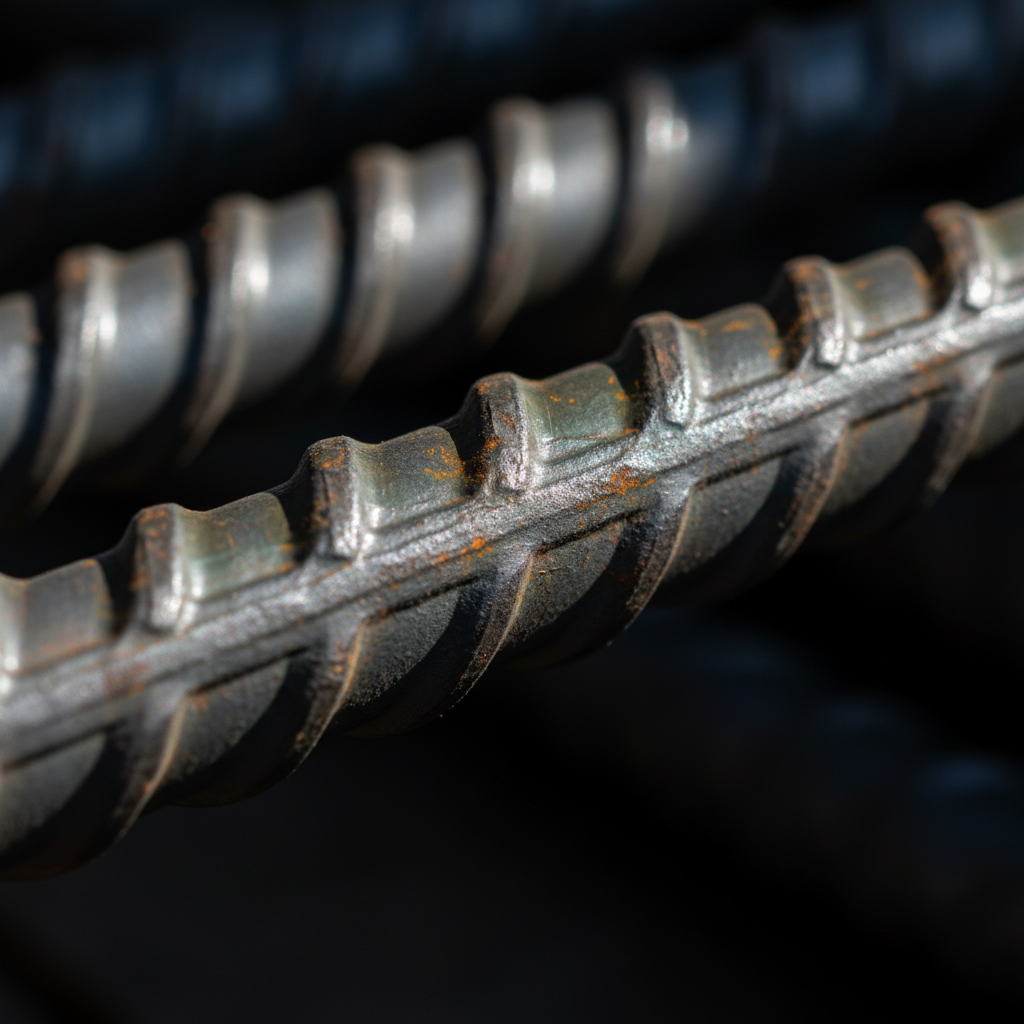
In practical terms, rebar turns brittle concrete into a composite that handles both compression and tension. The ribs on the bar develop bond so forces transfer between concrete and steel. In Ontario, designers typically call up CSA sizes (10M, 15M, 20M) and grades like 400W and 500W for predictable performance.
Key characteristics
- Tensile reinforcement: Concrete’s tensile strength is only a fraction of its compressive capacity; rebar bridges that gap.
- Bond and anchorage: Deformations on rebar improve bond; correct embedment and hooks develop full strength.
- Grade and ductility: Common Ontario grades 400W (~400 MPa) and 500W (~500 MPa) balance strength and ductility for seismic and serviceability demands.
- Finish options: Bare, epoxy-coated for corrosion resistance, or GFRP (non-corroding, non-conductive) where needed.
Typical Ontario sizes and properties
- 10M: 11.3 mm nominal diameter; nominal area ~100 mm²; mass ≈ 0.785 kg/m.
- 15M: 16.0 mm nominal diameter; nominal area ~200 mm²; mass ≈ 1.570 kg/m.
- 20M: 19.5 mm nominal diameter; nominal area ~300 mm²; mass ≈ 2.355 kg/m.
We stock common sizes and welded wire mesh configurations (6″ x 6″ with 6/6, 9/9, 10/10 gauges) so crews don’t wait. Our in-house detailing ensures bars fit, bend radii comply, and splice locations avoid congestion.
Why reinforcing bar matters
Reinforcing bar controls cracking, increases load capacity, and extends service life of concrete structures. The right grade, size, detailing, and corrosion protection reduces maintenance, mitigates risk, and protects schedules—especially critical on municipal and MTO-governed infrastructure in Ontario.
Here’s the thing: concrete shrinks, creeps, and cracks under restraint. Without rebar, cracks widen, durability drops, and service life shrinks. With rebar, cracks stay tight and structures meet deflection and strength limits, even under temperature swings common in Ontario’s freeze-thaw cycles.
- Serviceability first: Tight crack widths protect embedded steel and improve aesthetics and durability.
- Safety margins: Ductile reinforcement helps structures redistribe loads during overloads or seismic events.
- Lifecycle gains: Corrosion-resistant choices (epoxy-coated or GFRP) maintain capacity where chlorides and de-icing salts are present.
- Schedule reliability: Accurate estimating and shop drawings reduce RFIs and site rework, keeping pours on time.
In our experience supporting high-rise and municipal jobs, well-detailed 500W rebar with correct cover routinely limits crack widths below common service thresholds. For bridge decks and parkades, epoxy-coated rebar or GFRP meaningfully slows chloride-induced deterioration.
How reinforcing bar works
Rebar carries tension while concrete carries compression, creating a composite that resists bending and shear. Bond between ribs and concrete transfers force; proper cover, splicing, and anchorage ensure the bar develops full strength under service and ultimate loads.
In a typical slab, the bottom fibers see tension under gravity loads. Placing 10M or 15M bars at the slab bottom increases moment capacity. In beams, stirrups resist shear, and top/bottom longitudinal bars resist flexure. Adequate development length, hooks, or mechanical anchors let steel reach yield without pullout.
- Bond strength: Driven by concrete strength, bar deformations, cover, and confinement.
- Development length: Longer for epoxy-coated bars due to reduced bond; detailing accounts for this.
- Crack control: Spacing and bar diameter govern crack widths; more, smaller bars typically improve performance.
- Thermal effects: Temperature gradients induce flexure; reinforcement moderates resulting strains and stresses.
We routinely coordinate bar layouts so lap splices clear congested nodes, and welded wire mesh handles temperature-shrinkage in slabs-on-ground. Where electromagnetic neutrality is required, GFRP solves both corrosion and conductivity concerns.
Types and material options
Common reinforcing options include carbon-steel rebar in grades 400W and 500W, epoxy-coated steel for chloride exposure, GFRP for non-corroding applications, and welded wire mesh for slab reinforcement. Selection balances strength, durability, constructability, and lifecycle goals.
Steel rebar (bare)
- Grades: 400W (~400 MPa yield) and 500W (~500 MPa yield) widely used in Ontario.
- Use cases: Footings, walls, slabs, columns, and beams in residential and commercial projects.
- Sizes we stock: 10M, 15M, 20M common; larger sizes on request with coordinated lead times.
Epoxy-coated steel rebar
- Why choose it: Resists chloride attack from de-icing salts and marine spray, extending deck and parkade life.
- Detailing notes: Longer development lengths than bare; handle with padded slings to avoid coating damage.
GFRP (glass fibre reinforcing bars)
- Benefits: Non-corroding, non-magnetic, lighter than steel; ideal for highly aggressive environments.
- Design notes: Linear-elastic behavior to rupture (no yield plateau) requires serviceability checks and appropriate bar sizing.
Welded wire mesh (WWM)
- Standard sheets: 6″ x 6″ at 6/6, 9/9, 10/10 gauges for slabs and pavements.
- Advantages: Faster placement, consistent spacing; must be chaired to mid-depth to be effective.
For a practical primer on mesh selection and placement, see our overview of mesh types and uses. For broader product context, review the rebar product overview from our affiliated metals partner.
Standards and specifications
Ontario projects commonly reference CSA G30.18 for reinforcing steel and municipal/MTO provisions for durability. Designers specify grade (e.g., 500W), bar size (10M, 15M, 20M), spacing, cover, and splicing to meet strength, crack control, and exposure-class requirements.
While structural notes govern, execution quality determines performance. That’s why we align detailing, fabrication, and delivery to the drawings and specifications, then verify with checklists before placing bars. Consistency across the supply chain reduces site changes and concrete delays.
- Grading: 400W vs 500W drives capacity and lap length needs.
- Exposure classes: Chloride exposure pushes toward epoxy-coated rebar or GFRP and increased cover.
- Shop drawings: Bar lists, shapes, and bends must match design intent and code-compliant radii.
Our MTO-approved supply and controlled logistics help teams satisfy municipal and provincial acceptance criteria across bridges, culverts, and roadworks, as well as private builds.
Sizes explained: 10M, 15M, and 20M
10M, 15M, and 20M are common Canadian metric bar sizes. Nominal diameters are about 11.3 mm (10M), 16.0 mm (15M), and 19.5 mm (20M); typical mass is approximately 0.785, 1.570, and 2.355 kg/m respectively, informing takeoffs, lap lengths, and handling.
| Size | Nominal diameter | Nominal area | Approx. mass | Typical uses |
|---|---|---|---|---|
| 10M | 11.3 mm | ~100 mm² | ~0.785 kg/m | Slab mats, walls, light beams/columns |
| 15M | 16.0 mm | ~200 mm² | ~1.570 kg/m | Heavier slabs, beams, columns, shear walls |
| 20M | 19.5 mm | ~300 mm² | ~2.355 kg/m | Footings, transfer elements, higher-demand members |
Need a refresher on when to choose 10M versus 15M? Our 10M rebar guide breaks down common slab and wall scenarios with constructability tips and spacing ranges that speed up formwork and inspections.
How projects flow: estimating → detailing → fabrication → delivery → assembly
Efficient rebar delivery follows a proven chain: accurate estimating, coordinated detailing, precise fabrication, just-in-time trucking, and professional on-site assembly. Each step prevents delays, reduces waste, and ensures bars fit the pour plan the first time.
1) In-house estimating
- Scope clarity: Quantities by member type and phase; exposure notes for coating or GFRP.
- Data discipline: Sizes, spacing, bends, laps, and mesh areas summarized clearly.
- Outcome: Predictable lead times and delivery windows aligned to pour sequence.
2) Rebar detailing and shop drawings
- Collision checks: Congested nodes resolved; bar layering and splices coordinated.
- Standards: Bend radii, hooks, and lap lengths per code and notes.
- Deliverable: Bar lists that drive fabrication accuracy and field productivity.
Explore our approach to rebar detailing and how it prevents site RFIs while improving concrete quality.
3) Fabrication (cut & bend)
- Tolerances: Consistent length and angle control reduce fit-up shimming and tie time.
- Traceability: Heat numbers and batch records support inspections.
- Bundling: Logical grouping by pour and location increases placement speed.
See how our fabrication process aligns with your schedule and pour plan.
4) Dedicated trucking fleet delivery
- Staging: Loads sequenced to crane picks; deliveries matched to pour windows.
- Protection: Epoxy-coated bars padded; mesh secured to prevent deformation.
- Coordination: Driver check-ins reduce site congestion and idling.
5) On-site assembly
- QA checks: Cover chairs, bar tags, and spacing verified before concrete.
- Productivity: Pre-tied cages and logical bundles speed placement.
- Documentation: As-built markups and photos streamline closeout.
For a broader planning view, our reinforcing steel guide outlines how integrated teams cut days from critical paths.
Need a fast-turn takeoff or delivery window? Our Ontario-based team can mobilize estimating, detailing, fabrication, and a dedicated trucking slot to match your pour dates. Start with our rebar supply overview and we’ll align a plan to your site.
Best practices for specifying, placing, and protecting rebar
The best results come from early coordination, right-sized bars, proper cover, corrosion protection in chloride zones, and disciplined QA on site. Simple habits—like chairing mesh to mid-depth—deliver measurable strength and durability gains.
Design and specification
- Choose grade intentionally: 500W often shortens lap lengths and boosts capacity where spacing is limited.
- Right-size bars: More, smaller bars frequently control cracks better than fewer, larger bars.
- Durability first: Use epoxy-coated rebar or GFRP for decks and parkades exposed to de-icing salts.
Detailing and fabrication
- Keep bends compliant: Respect minimum bend diameters to avoid bar damage.
- Label clearly: Tag bundles by location and pour to reduce sorting time.
- Protect coatings: For epoxy, use non-marring slings and cap cut ends.
Delivery and site placement
- Staging maps: Pre-plan laydown to minimize double-handling.
- Chair everything: Mesh and bar mats must sit at designed cover; otherwise, strength assumptions fail.
- Pre-pour checks: Confirm covers, splices, and clearances at congested nodes.
We’ve found that a 10-minute pre-pour checklist often prevents hours of rework. For seasonal planning tips, see our note on stocking up ahead of summer to avoid supply pinch points.

Comparison: materials and typical applications
Choose rebar materials by balancing strength, corrosion resistance, constructability, and lifecycle performance. Standard steel suits most elements; epoxy-coated steel fits chloride exposure; GFRP is best where corrosion and conductivity must be avoided; welded wire mesh excels in slabs and pavements.
| Material | Yield/Behavior | Corrosion resistance | Typical applications | Notes |
|---|---|---|---|---|
| Steel 400W | ~400 MPa yield | Standard | General elements (walls, slabs, beams) | Ductile, widely available |
| Steel 500W | ~500 MPa yield | Standard | High-demand members, tight spacing | Shorter laps possible |
| Epoxy-coated steel | Steel yield; longer dev. lengths | High | Decks, parkades, marine slabs | Handle gently to protect coating |
| GFRP | Linear elastic to rupture | Excellent (non-corroding) | Highly aggressive or non-magnetic needs | Check serviceability and deflection |
| Welded wire mesh | N/A (grid) | Standard | Slabs, pavements, sidewalks | Must be chaired to mid-depth |
Tools and resources for Ontario projects
Leverage integrated services—estimating, detailing, fabrication, delivery, and assembly—to compress schedules and reduce risk. Use checklists, bar-mark maps, and delivery staging plans to avoid idle time and rework on pour days.
- Service primers: Start with our rebar supply guide to align scope and timelines.
- Detailing handbook: Our steel rebar guide explains cover, bends, and splices with site photos.
- Foundation focus: See foundation detailing guidance for footings and walls.
- Planning templates: Ask us for bar-list templates and staging maps that match your sequencing.
Local considerations for 370 New Enterprise Way
- Plan deliveries to avoid regional rush periods; aligning our trucking fleet windows with your crane picks prevents yard congestion.
- Account for freeze-thaw and de-icing chloride exposure; choose epoxy-coated rebar or GFRP for exterior decks and ramps.
- Coordinate inspections early; our MTO-approved materials and documentation streamline municipal reviews across the Greater Toronto Area.
Case studies and on-site examples
Ontario projects benefit from coordinated reinforcing bar supply and execution. When estimating, detailing, fabrication, delivery, and assembly stay in sync, pours happen on time with fewer RFIs, tighter crack control, and cleaner inspections—saving days across a multi-phase schedule.
- High-rise residence (Toronto): Using 500W 15M/20M bars in shear walls with pre-tagged bundles reduced placement time per level by a measurable margin.
- Mid-rise development (Waterloo): Epoxy-coated deck reinforcement improved expected durability under de-icing exposure, with careful handling to protect coating integrity.
- Mixed-use tower (Pickering): Pre-tied column cages and logical truck sequencing allowed same-day placement across two pours, maintaining finish quality.
Across these jobs, the consistent thread was integration: in-house detailing eliminated clashes; fabrication met bend radii; trucking hit tight windows; and site assembly used checklists to validate cover, spacing, and splices before every pour.
Frequently Asked Questions
These concise answers address the most common reinforcing bar questions about grades, sizes, coatings, mesh, and constructability so you can decide quickly and build confidently in Ontario.
What is the difference between 400W and 500W rebar?
400W has a nominal yield of about 400 MPa, while 500W is about 500 MPa. 500W increases strength and can shorten lap lengths or reduce bar counts in tight spaces. Designers choose based on capacity, spacing limits, and serviceability targets.
When should I use epoxy-coated rebar instead of bare steel?
Use epoxy-coated rebar where chloride exposure is expected—such as parking decks, ramps, bridge slabs, or marine-adjacent elements. The coating resists corrosion and helps preserve capacity and service life. Handle carefully to protect the coating during delivery and placement.
Is GFRP a direct replacement for steel rebar?
Not always. GFRP doesn’t yield like steel; it’s linear-elastic to rupture. Designers size GFRP differently and verify crack control and deflections at service loads. It’s excellent for highly corrosive or non-magnetic environments, but check detailing notes before substituting.
Do welded wire mesh sheets work as primary reinforcement?
Mesh is great for slabs and pavements when properly chaired to mid-depth. It’s typically used for temperature and shrinkage reinforcement or light slab reinforcement. For high-demand members, designers still specify deformed bars with precise spacing and anchorage.
What are the actual diameters for 10M, 15M, and 20M bars?
Approximate diameters are 11.3 mm for 10M, 16.0 mm for 15M, and 19.5 mm for 20M. These inform spacing, lap length, and bar support decisions. Matching the bar size to cover, spacing, and crack-control goals is key to constructability.
Conclusion
Reinforcing bar enables concrete to perform under real-world loads by adding tensile strength and crack control. Pair the right material with disciplined estimating, detailing, fabrication, delivery, and assembly to build durable, code-compliant structures on time in Ontario.
- Key takeaways:
- Match size and grade to capacity and crack-control needs.
- Use epoxy-coated rebar or GFRP in chloride exposure.
- Chair all reinforcement to maintain design cover.
- Coordinate detailing and logistics to eliminate site friction.
- Next steps:
- Align scope with our rebar supply guide.
- Review steel rebar basics with your site team.
- Book delivery windows to match your pour sequence.
Ready to plan your next pour near 370 New Enterprise Way? Let’s coordinate estimating, detailing, fabrication, and a dedicated trucking slot to meet your dates.