Steel bar bending is the controlled shaping of reinforcing steel to engineered angles and radii so rebar fits drawings without cracking or losing strength. It supports code compliance, speed, and repeatability. From our Woodbridge hub at 370 New Enterprise Way, Dass Rebar performs precision steel bar bending for Ontario projects with in-house detailing, fabrication, and coordinated delivery.
By Navjot Dass • Last updated: 2026-06-08
Overview
This guide explains steel bar bending from first principles to field execution. You’ll learn what it is, why bend radius matters, step-by-step methods, tools, quality checks, and local logistics in Woodbridge. Use it to align engineers, detailers, fabricators, and site crews around fast, compliant reinforcing work.
Use this as your field-ready playbook for bending 10M, 15M, and 20M bars, coordinating shop bends with site sequencing, and preventing rework.
- What you’ll learn: definitions, minimum bend diameters, shop vs. site bending, QA checks, and safety.
- Who it’s for: general contractors, concrete contractors, rebar installers, estimators, and construction managers.
- Quick navigation:
What Is Steel Bar Bending?
Steel bar bending is the process of forming reinforcing steel (rebar) to specified shapes using controlled force and accurate tooling. The goal is to achieve code-compliant radii and angles without microcracking, so bars place quickly, develop full strength, and match the engineer’s intent.
In practice, bending converts straight stock into stirrups, hooks, U-bars, L-bars, Z-bars, and complex cages. Minimum inside bend diameter (often expressed in bar diameters, db) preserves ductility and coating integrity. Epoxy-coated bars, glass fibre alternatives, and high-yield grades each have unique handling and bending considerations.
At Dass Rebar, we integrate in-house detailing with fabrication so every bend follows approved bar lists and shop drawings. This closes the loop between the engineer’s schedule, the detailer’s shape codes, and the fabricator’s dies and mandrels.
For broader reinforcing fundamentals, see our short primer on steel rebar basics, then return here for bend-specific execution.
Why Proper Bending Matters
Correct bends protect bar ductility, accelerate placement, and prevent inspection rejects. When radii are too tight or angles drift, bars can crack coatings, lose development length, and trigger rework—delaying pours and multiplying labor hours across every footing, wall, and slab.
Done right, steel bar bending improves schedule reliability: consistent stirrups can cut cage assembly time by dozens of minutes per column, and pre-bent wall bars reduce congestion so crews tie faster. Even small placement gains scale: a mid-rise can use thousands of identical stirrups and hooks.
Quality bends also stabilize procurement. Standardizing shapes across drawings lets estimating produce accurate takeoffs and smoothing fabrication changeovers. That’s why our fabrication best practices stress common radii, consistent shape codes, and clear bar mark sequencing from the start.
Finally, compliant bends underpin inspection. Inspectors look for clean radii, coating continuity on epoxy-coated pieces, and correct hook geometry. Avoiding on-site rebends reduces risk of microfractures and keeps your pour windows intact.
How Steel Bar Bending Works (Step-by-Step)
Bending rebar follows a controlled workflow: confirm bar grade and size, review drawings, choose the correct die/mandrel, set stop blocks, execute the bend smoothly, verify angles and radii, tag, and stage. Documenting each step ensures repeatable, inspection-ready results.
Shop workflow that field crews can trust
- Verify material: Confirm size (10M, 15M, 20M), heat numbers, and coating. Segregate epoxy-coated bars and GFRB from carbon steel racks.
- Read the intent: Cross-check the engineer’s schedule, approved shop drawings, and shape codes. Note minimum inside diameters by bar size and coating.
- Select tooling: Match dies and mandrels to bar diameter. Use larger radii for epoxy-coated bars to protect the coating.
- Set mechanical stops: Use angle stops and length gauges so duplicates match within tolerance across the run.
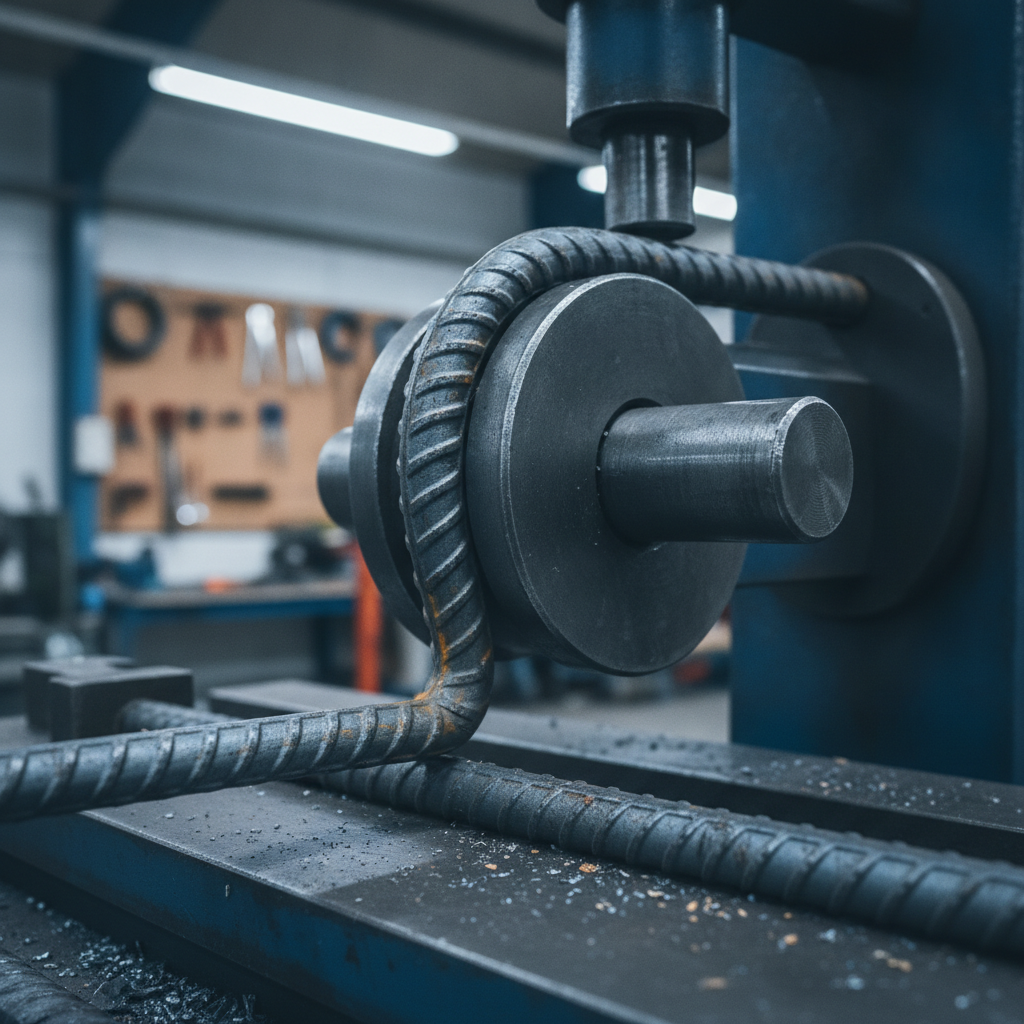
- Execute the bend: Apply steady, continuous force on a rotary or hydraulic bender. Avoid “jerk” motion that can induce surface damage.
- QC the result: Check angle with a protractor or digital gauge; confirm radius with a template. Inspect coating continuity and rib integrity.
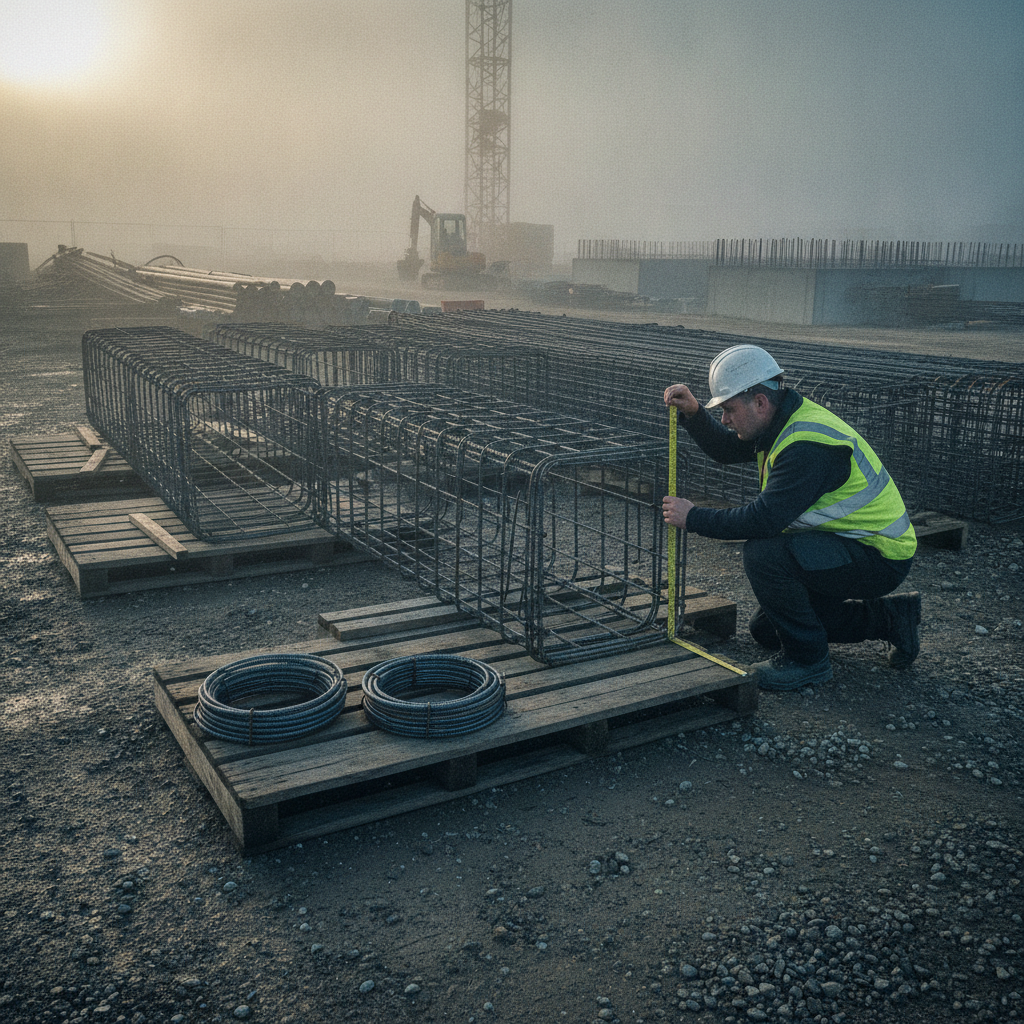
- Tag and stage: Label with bar mark, quantity, and destination pour sequence. Palletize by lift or wall segment.
- Close the loop: Record production counts and nonconformances. Feed lessons to detailing to simplify future bend families.
For small on-site adjustments, experienced ironworkers may use hand benders, but we recommend pre-bending in the shop wherever possible. Pre-bent bars cut tie time, reduce site risk, and keep your pour schedule predictable.
New to shop coordination? Our quick guide to rebar supply planning shows how to align bar lists with delivery windows so bends arrive just in time for assembly.
Types, Methods, and Approaches
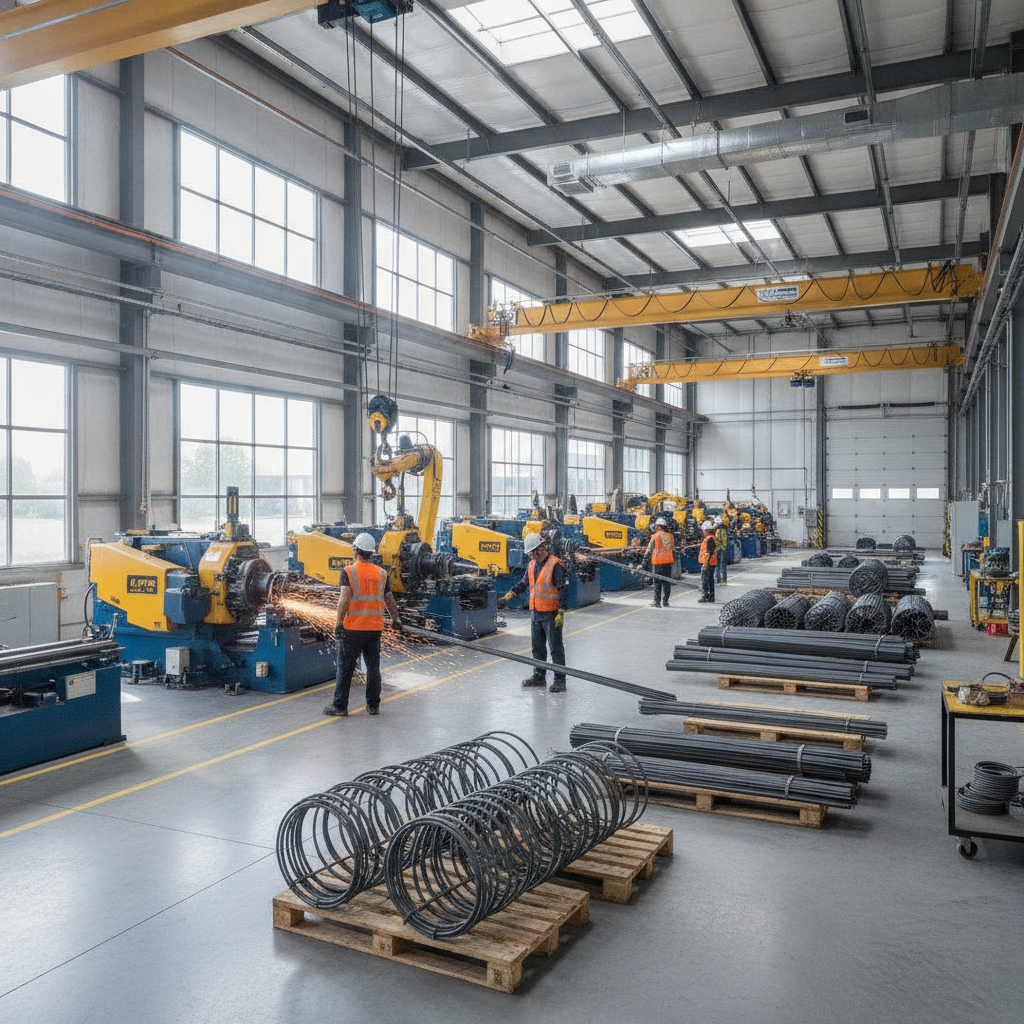
Steel bar bending can be manual with lever benders, semi-automatic on rotary machines, or automated with CNC benders. Choose shop bending for volume and repeatability; reserve on-site bending for controlled adjustments or when access prevents pre-bent delivery.
Common methods
- Manual lever bender: Good for light adjustments and small diameters. Portable, but slower and operator-dependent.
- Rotary/hydraulic table bender: Shop workhorse for repeatable angles and radii. Pairs with dedicated shears for efficient cut-and-bend lines.
- CNC rebar bender: Fastest for high-volume, high-accuracy runs with variable shapes and mirrored pairs.
- Field hand-bending: Useful for minor tweaks where shop-prebent bars don’t account for field tolerances or embeds.
Materials and coatings
- Carbon steel rebar (Grade 400W/500W): Predictable ductility and well-known bend schedules.
- Epoxy-coated rebar: Requires larger inside radii and padded tooling to protect coatings.
- Glass Fibre Reinforcing Bars (GFRB): Typically supplied pre-formed; follow manufacturer guidance for allowable bend geometry.
- Welded wire mesh: Not “bent” in the same sense; field cuts and laps are planned to avoid kinks.
Need a refresher on product lines? See the lineup at our affiliate’s rebar products page for context on sizes and use cases.
Steel Bar Bending: Best Practices
Follow approved shop drawings, respect minimum inside bend diameters, protect coatings, and document QA. Stage by pour sequence to cut search time on site. These habits reduce rework, protect strength, and keep inspections smooth.
Geometry that preserves strength
- Think in diameters (db): Minimum inside bend diameter scales with bar size. Larger bars need larger radii to avoid strain hardening.
- Respect hooks and stirrups: Hook geometry develops anchorage; consistent stirrups control shear and confinement.
- Mind coating integrity: Use protected rollers and avoid sharp contact points for epoxy-coated stock.
Process controls that prevent rework
- Pre-production sample: Produce and approve a first-article bend for each shape family.
- Calibrated gauges: Verify angles and radii with templates or digital tools; document deviations.
- Traceability: Tag by bar mark and pour sequence; track heat numbers where required.
Want a deeper dive on “do’s and don’ts”? We cover radius selection, kinks, and avoiding short legs in our circular bending tips and broader reinforcing bar guide.
Tools and Resources
Successful bending blends the right machines, calibrated tooling, and clear documentation. Equip rotary benders with matched dies, keep templates handy, and maintain a clean staging area so tagged bundles flow to site without confusion.
Core equipment
- Rotary or hydraulic benders: Primary shop machines for accurate, repeatable bends.
- Dies and mandrels: Sized to bar diameter and coating; larger for epoxy-coated stock.
- Cutting shears: Integrated cut-and-bend lines increase throughput and consistency.
- Measuring tools: Templates, protractors, digital angle gauges, and radius checkers.
- PPE: Gloves, eye protection, hearing protection, and safety footwear.
Documents and coordination
- Approved shop drawings: Bar lists with shape codes and bend dimensions.
- Delivery plan: Align fabrication batches to pour windows and crane picks.
- Site assembly plan: Identify jigs, cages, and tie wire patterns ahead of mobilization.
Our in-house detailing and supplier coordination guide show how early alignment prevents duplicate bends and on-site rebends.
For a broader structural context, this steel framing guide outlines how reinforcing decisions interface with framing choices on mixed systems.
Local considerations for Woodbridge
- Stage deliveries to avoid peak traffic around Queen St / Highway 50; timed windows reduce crane idle.
- Winter pours need heated staging and dry covers to keep bends and tags readable when snow hits.
- Crews in the Regional Municipality of York coordinate multiple sites; staging by pour sequence helps foremen move cages efficiently.
Case Studies and Examples
Integrated detailing and bending cut field hours and inspection risk on recent Ontario projects. By standardizing shapes and staging by pour sequence, crews tied faster, inspectors cleared bends on first pass, and pours stayed on schedule.
The Hawthorne Residences (Toronto)
- Challenge: Dense column cages with repeating stirrup families.
- Action: Pre-approved first-article bends, mirrored pairs kitted by lift.
- Result: Faster cage assembly with consistent cover; hooks matched drawings without site trimming.
Hickory Terraces (Waterloo)
- Challenge: Sequencing wall bars to fit narrow pour windows.
- Action: Tagged by pour sequence, bundled per wall segment; shop bends staged three days ahead.
- Result: Inspectors cleared wall bends on first visit; no on-site rebends required.
The Grand at Universal City (Pickering)
- Challenge: Mixed epoxy-coated zones and standard carbon steel.
- Action: Separate tooling and larger dies for coated bars; special handling and padding during staging.
- Result: Coating integrity preserved; bends passed inspection without touch-up.
For teams building with 10M, 15M, and 20M bars, our primer on 10M rebar uses helps plan typical shapes and legs before detailing begins.
Mid-article tip: If you’re pulling old cages or trimmings from site clean-up, coordinate with a recycler. A practical overview on handling offcuts is here: sell steel scrap.
Method Comparison Table
Use shop rotary or CNC bending for volume and accuracy; reserve manual or field bending for limited adjustments. Shop-prebent bars reduce tie time and inspection risk, especially on repetitive stirrups and hooks.
| Method | Best For | Accuracy | Speed | Notes |
|---|---|---|---|---|
| Manual lever | Small diameters, quick tweaks | Operator dependent | Slow–Medium | Portable; good for minor site adjustments |
| Rotary/hydraulic | Repeat shapes, shop runs | High | Fast | Pairs with shears for cut-and-bend lines |
| CNC bender | High volume, mirrored shapes | Very high | Very fast | Excellent for mirrored pairs and complex shapes |
| Field hand-bending | Minor on-site adjustments | Medium | Slow | Use sparingly; avoid rebending |
For end-to-end planning, our concrete rebar guide connects bending choices to placement, cover, and curing milestones.
Frequently Asked Questions
These quick answers address common planning and inspection questions about steel bar bending, from minimum diameters to epoxy-coated handling and field adjustments.
What is the minimum bend diameter for common rebar sizes?
Minimum inside bend diameter is specified in the project documents and standards and typically scales with bar size in “db.” Larger bars need larger radii. Always follow the engineer’s schedule and approved shop drawings for exact values.
Can epoxy-coated rebar be bent without damaging the coating?
Yes—use larger mandrels, padded tooling, and smooth, continuous bends. Inspect coating after bending and separate coated stock from carbon steel during staging. Follow the drawings and any manufacturer instructions included with the submittals.
Should we bend rebar in the shop or on site?
Prefer shop-prebent bars for accuracy, speed, and inspection reliability. Reserve on-site bending for controlled, minor adjustments when access or unforeseen conditions demand it, and only with experienced crews and proper tools.
How do we avoid rework on repetitive stirrups and hooks?
Standardize shapes, approve a first-article bend, set mechanical stops, and stage by pour sequence. Tag bundles clearly. This makes assembly faster and helps inspectors verify geometry quickly.
Conclusion
The fastest reinforcing projects blend smart detailing with precise, repeatable steel bar bending and tight delivery coordination. Standard shapes, correct radii, and clear staging eliminate waste and keep pours on time.
- Key takeaways:
- Respect minimum bend diameters and hook geometry to protect strength.
- Shop-prebent bars speed assembly and reduce inspection risk.
- Stage by pour sequence so crews can build without hunting for marks.
- Next steps:
- Align your drawings with our supplier coordination checklist.
- Review fabrication flow in our rebar fabrication guide.
- Book a detailing-to-delivery walkthrough with Dass Rebar in Woodbridge.
Ready to streamline your next pour? Let’s plan your bends, staging, and delivery windows from our Woodbridge facility. Visit Dass Rebar to start the conversation.